Thanksgiving is just around the corner and the holiday spirit has us all excited. We’re sure preparations are already in place, as Thanksgiving is the beginning of a wonderful season of celebrations where we’re reminded of what’s really important in life.
Kids feel the energy that surrounds them and wouldn’t want to be left behind. For this reason, we’ve made a list of 11 Thanksgiving crafts for kids that you can use to involve children in the preparation process, make them happy, and make your life a little easier.
Making Thanksgiving crafts for kids is also a wonderful idea for teachers as a school project or homeschool parents as a way to make the Thanksgiving unit more practical.
Regardless of your motivations, choosing a craft activity will help children advance their fine motor skills, creativity, concentration, and imagination. Best of all, they’ll have fun and learn the true meaning behind Thanksgiving.
Our list features craft activities that are all related to Thanksgiving more or less, but more importantly, they’re designed to teach children about gratefulness and patience.
So, without further ado, let’s take a look at some of the most entertaining Thanksgiving crafts for kids.
Thanksgiving Crafts for Kids
I’m Grateful for… Pie
Everyone wants a slice of pumpkin pie for Thanksgiving, but thanks to this DIY idea, your kids will deliver the “sweetest” pie of all.
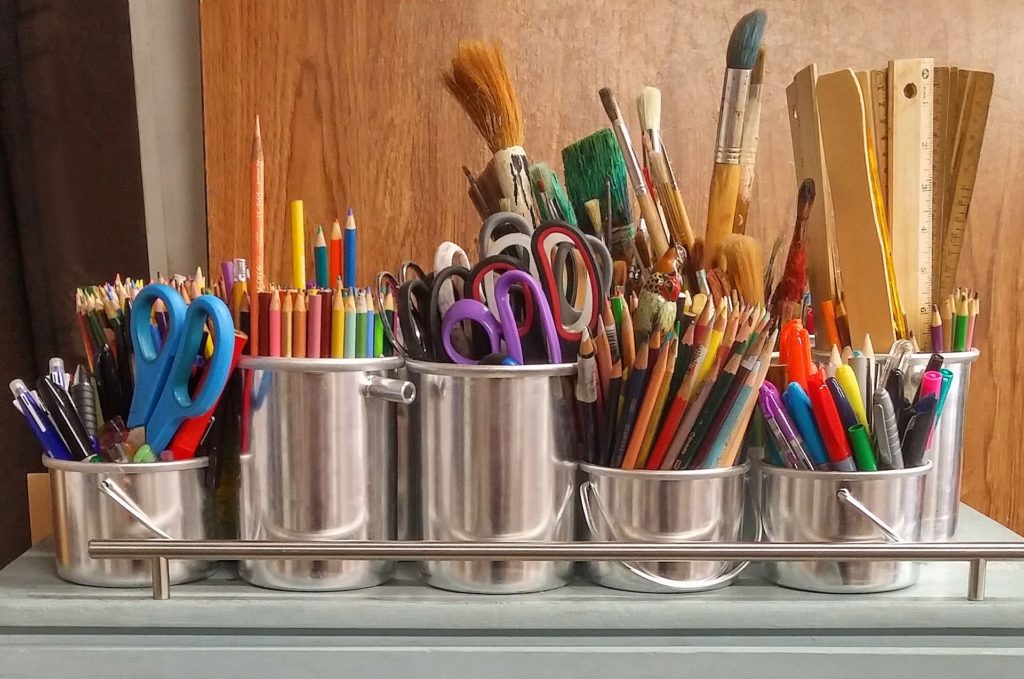
To make this pie you’ll need a paper plate, construction paper, a brass fastener, a ruler, scissors, and a bunch of colorful markers.
First, cut the construction paper in a circle that’s the same size as the inside of the paper plate. After this, cut out one “slice” of the circle (triangle shape). Make sure you first measure the dimensions and cut the slice starting from the center. After this, the child can freely draw the pie as they like. Usually, people draw horizontal and vertical stripes with little red squares, just like a typical pie would look like.
Once the pie is done, secure the circle in the inside of the paper plate with the brass fastener. In the empty space where the cut-out slice falls, write “I’m thankful for…”
Now, during dinner or while with friends, the child can use the “pie” to ask everyone to rotate the circle and write what they’re thankful for. Once everyone has written something, the child can read the answers out loud, or keep this pie as a souvenir.
Painted Rocks and Leaves Decorations
Another thanksgiving crafts for kids idea that will allow the children to breathe fresh air, run around in nature, spend a lot of energy, and then work with their hands on an easy activity that will make your Thanksgiving table even more wholesome is to simply paint autumn rocks and leaves.
First, tell the children to go outside and find the most beautiful autumn leaves and small rocks. Once they’ve collected a bunch of them, tell them to paint the leaves and rocks in different colors with water or oil paint. Let children express their creativity. The leaves and rocks can have multiple colors, patterns, or even letters and words painted on them – may be something that children associate with Thanksgiving.
After this, leave the rocks and leaves to fully dry before you organize them in a beautiful centerpiece for the Thanksgiving table.
Yarn Pumpkin Craft
To make wonderful yarn pumpkin decorations from balloons, you’ll probably need to assist your children with this Thanksgiving craft, but we promise you – it will be worth it.
To make the yarn pumpkins you’ll need orange yarn (usually one pumpkin will require around 40 inches of length), white glue, balloons, and green and brown pipe cleaners (for the leaves and wood).
Start by blowing up the balloons. Half-blown usually works best, but make them as big as you want the yarn pumpkin to be. Be careful, the fully blown ones might pop easily.
Next, cut the yarn into 40 inch long pieces. Do as many pieces as you want. One piece equals one pumpkin yarn.
After this, pour the white glue into a bowl and dunk one piece of yarn in the glue (cover it fully). Leave it for a couple of seconds, then take it out. You can run it through the tines of a fork to remove excess glue so it’s not dripping everywhere. Finally, wind the yarn strand around the balloon and when you’re done, leave it to dry out.
Once dry, pop the balloon and take it out of the freshly constructed yarn pumpkin. Cut small pieces of the pipe cleaners and glue them at the top of the pumpkin to represent the leaves.
Thanksgiving-Themed Pine Cone Decorations
While you prepare the table, your children can make cute decorations that you’ll all enjoy. Here’s an easy way to accomplish this.
First, you’ll need to go to a park with your children and gather pine cones or give this assignment to your partner. If you’re lucky to live in a house with a big backyard or close to a forest, then you can easily let your children play on their own. This goes without saying, but in case of the latter, do make sure to keep an eye on them.
Also, you’ll need scarp ribbons, brown pom-poms, wiggly eyes (you can also make them with white paper and a black marker), white glue, and scissors.
First, make turkey feathers with the ribbons. To do this, you’ll need to cut the ribbons into pieces and glue the edges into loops. Use ribbon pieces of different lengths because this will give the impression of smaller and bigger feathers.
After this, glue the features into the pine cone and let them dry. While the body of what’s going to be a pine cone turkey dries, take the pom-pom and glue the eyes. For the mouth, you can cut a small triangle piece of ribbon and glue it on a pom-pom.
Finally, glue the pom-pom head to the pine cone body of the turkey and let it dry.
Thanksgiving Turkey Treat Buckets
For those of you that are on the lookout for a simple and easy Thanksgiving craft for kids of all ages, then this just might be it.
Kids treat baskets. They’re fun to make, and the children get to enjoy them later while eating delicious treats.
To make a Thanksgiving-themed treat basket you’ll need a small, brown metal bucket, colorful feathers, craft foam, wiggly eyes, and glue.
Start by gluing the feathers along the top outer edge of the bucket (only one side). On the other side of the bucket glue the wiggly eyes. Cut the craft foam into a small triangle that will represent the turkey’s nose and a snood on the side. That’s it.
Fill the bucket with treats and let your kids enjoy it.
Gratitude Turkey
We especially love this Thanksgiving craft for kids because they’ll learn a lot about gratitude and will get the opportunity to express their feelings by writing what they are grateful for. Best of all, you won’t need to spend money on fancy materials.
All you need for this craft is an empty toilet paper tube, a small paper plate, a small paper cup, water or oil paints (Thanksgiving colors like yellow, orange, red, and brown), glue, scissors, white, and different color construction paper, and a black marker.
The first step is to color all the materials. The paper plate should be orange, the paper cup black, while the toilet paper tube brown. After they dry out, glue the paper cup on top of the toilet paper tube (like a hat). Also, glue the eyes (white circles from the construction paper with black marker dots) below the black hat and make a beak from the construction paper. After this, glue the toilet paper tube in the center on the outside of the paper plate. Let it dry, while you prepare the feathers. From the different color construction paper cut feather-shaped pieces and write what you’re thankful for this year on them. After this, glue each feather along the edge of the paper plate.
Thanksgiving Napkin Rings
You’ll definitely have the best Thanksgiving table if you let your kids make these unique napkin rings.
You’ll need empty toilet paper tubes, ribbons, or fabrics to cover the tubes, small decorations (leaves, fake nuts, tree branches, fake flowers, etc.), and glue.
First, cut the toilet paper tubes into 1 ½ inch sections. After this use the fabrics or ribbons to fully cover the rings. Glue the fabrics or ribbons to fix them. In the end, plan how you like the decorations to look and glue them on top of the rings.
Thanksgiving Place Card Holders
Another unique craft idea for decorating Thanksgiving is to make place card holders. It’s a very simple and easy process.
You’ll need autumn leaves (or faux leaves), clothespins (large), wiggly eyes, glue, color markers, and construction paper (orange and white).
The first step is to glue the wiggly eyes on the clothespins and cut a triangle from the orange construction paper to make a beak. Also, glue it to the clothespins below the wiggly eyes. The second step is to carefully glue the leaves on the other side of the clothespins. When you look at the clothespins from the front side the leaves should look like turkey feathers. Finally, cut rectangles from the white construction paper and write the guests’ names with a different color marker. Clamp the piece of paper with the guests’ names in the clothespins.
Since the clothespins can stand on their own, place them on the table in front of the chairs where the guests should sit.
Thanksgiving Leaf Lanterns
These leaf lanterns are a fun Thanksgiving craft idea for kids and they’ll look beautiful beside the table or on the table as a centerpiece.
To make them you’ll need a few mason jars, yellow to reddish autumn leaves, foam brush, Mod Podge, wiggly eyes, white tissue paper, brown construction paper, scissors, and tealights.
Once you have collected autumn leaves, you and your child can start making the lanterns. First, use the foam brush to apply Mod Podge all over the outside surface of the mason jar. Then, stick the white tissue paper all over the jar (where you have applied Mod Podge) in pieces. Once you’re done, apply another coating of Mod Podge over the tissue paper. Take one big leaf and apply Mod Podge to stick it to the mason jar. Try to place it as if it was the feathers of a turkey.
From the brown construction paper, cut two circles – one small (head) and one big (body). Use Mod Podge to stick the circles on top of the leaf. Glue the wiggly eyes where the head of the turkey would be and draw a small beak. Finally, place a tealight inside the jar and enjoy it.
DIY Window Decorations
Halloween is over and there’s still some time before we put up our Christmas decorations on the windows. However, this shouldn’t mean we can’t decorate the windows with Thanksgiving DIY crafts that your kids would love.
To make DIY window decorations, you’ll need white construction paper, pencil, puffy fabric paint, and wax paper.
First, you’ll have to decide how you want your decorations to look like. Let your children draw whatever they had in mind and be there to give them inspiration if they need it. Once the drawing is finished, place a wax paper over it and use the puffy fabric paint to trace the drawing beneath the wax paper.
When you’re done, leave the paint to dry overnight. The next day, simply pull the shapes off of the wax paper and stick them on the window. It’s that easy.
Smiley Leaf Friends
Last but not least, although probably the easiest craft that even the youngest children would enjoy, is smiley leaves.
To do this, all you need is a bunch of fallen leaves, a black marker, glue, and wiggly eyes. We found that yellowish leaves work best as they give the most contrast when we draw on them.
Simply, take one leaf, glue the wiggly eyes on them, and draw a smile, eyebrows, and/or a nose. You can try to replicate all the smiley emoji you kid knows, or invent your own characters.
Before You Leave
Thanksgiving is one of the most enjoyable holidays because the whole family comes together, but between all the shopping, cooking, and simply preparing the house, it can get a bit stressful, too. This is especially true if you have your little ones running around the house screaming in excitement.
Fortunately, now you have a smart solution. Thanks to our selection of easy and entertaining Thanksgiving crafts for kids, your little ones will be busy making unique Thanksgiving decorations. Send us pictures of your crafts too, we’d love to include them in the blog!
If you’re a teacher, we made sure that all the activities are suitable for the classroom and easy to implement. And if you need more help in organizing a fun and meaningful lesson plan for this season, we have the largest collection or Thanksgiving curriculums, worksheets, and other teaching resources. Simply visit our website and take your pick.
While you’re there, don’t forget to check out our blog, where we regularly share insightful articles on a wide range of topics regarding children’s education.
Related Articles


Link/cite this page
If you reference any of the content on this page on your own website, please use the code below to cite this page as the original source.
Link will appear as Thanksgiving Crafts for Kids – Easy DIY Ideas: https://kidskonnect.com - KidsKonnect, November 19, 2020